

A while back, I attempted to create a chatbot to add to my online CV by fine-tuning a copy of GPT-3.5. See here for that article. This worked out as well as could be expected but was not usable in any way, shape, or form. That approach used fine-tuning instead of RAG and led to very inaccurate hallucinations. I also did not have enough data to perform decent fine-tuning, so I ended up shelving the project until now.
But wait, what is RAG and fine-tuning? Well, in short, fine-tuning is when you take an LLM model and continue its training on additional data. It’s like giving a college student with good general knowledge a ton of books about French cooking. The student will still have all their general knowledge but will also gain a good understanding of French cooking. Keep in mind, I said a good understanding, not complete knowledge, as the student will have a good general grasp of French cooking but will not be able to recite every recipe by heart.
This is where RAG (Retrieval-Augmented Generation) comes in. Instead of having the student read all the books on French cooking, you give the student the books and tell them to refer to the books whenever they want to know anything about French cooking. This way, the student can read the recipes from the book and follow them line by line, instead of trying to remember everything and perhaps missing some ingredients or confusing two similar recipes. Or even worse, just making up recipes that do not exist.

This time around, I opted to use RAG instead of fine-tuning and was a lot more successful the second time. I still had to do a lot of prompt engineering to set some limits on what the LLM can and cannot say, but in the end, I was rather pleased with the results. Below is a high-level diagram of how the backend is put together.
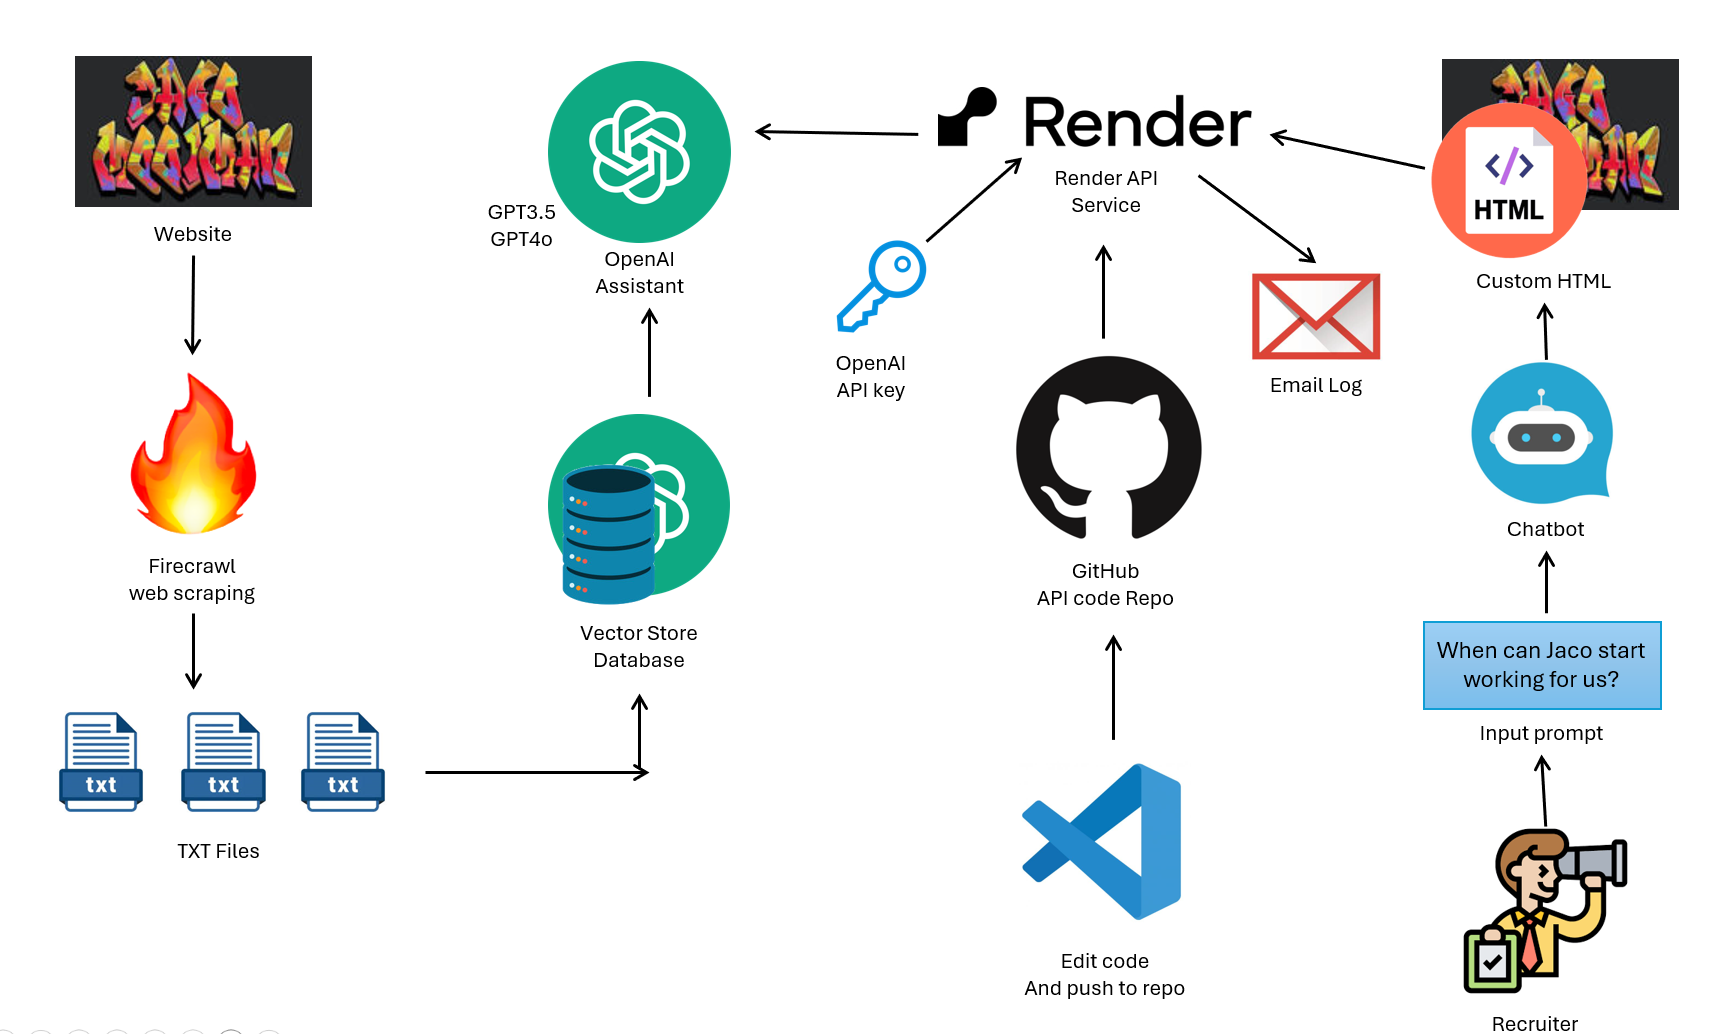
I first started by doing a web scrape of my online CV to get the basic information. I used Firecrawl for this via their API they provided. I know there are many ways of doing web scraping, but not feeling the need to reinvent the wheel, I opted to use this service instead as the goal of this project was to build an LLM for my CV and not to do a deep dive in web scraping. I then used a simple Python script to export the scraped data to a txt file.
On top of that, I also decided to go the extra km to make the bot fully interview ready. I asked GPT to ask me common interview questions that I then answered back. When I thought I had enough, I asked GPT to simply export the questions in a TXT file in a format another LLM would find easy to read. Work smart, not hard, as they say. I also used GPT to extract all relevant information from all my certificates and save that as a TXT file simply by taking some screenshots and feeding them to GPT. I ended up with a couple of txt files with specific information about myself.
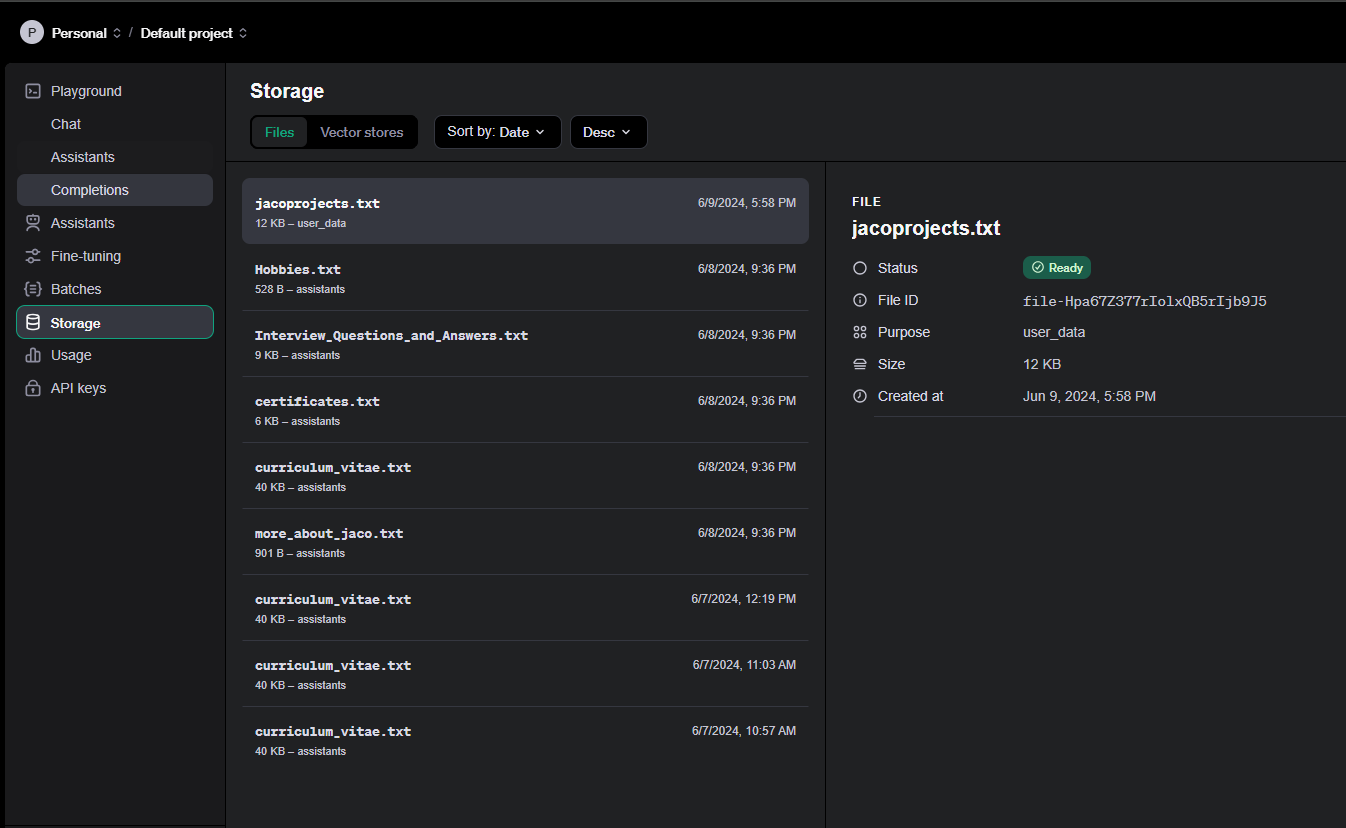
To actually start building the “brain” of the LLM, I did play around with a couple of options. The most complex was to build everything from scratch, including the databases, vectorizing the txt files, hosting the database and LLM. I opted for a more speedy solution even though it might cost me a few Rans now and then. Well, I suppose hosting all of the databases and LLM might have cost me even more in hindsight. So I opted to use OpenAI’s backend that they have built. One simply has to create a storage space that then automatically is converted into a vector store database. You can also add and remove files on the fly whenever you want while the admin of the database is being handled in the backend. Below is a screenshot of the files I’ve uploaded that the LLM (GPT) will use to reference. Although doing this via their API would be just as easy.
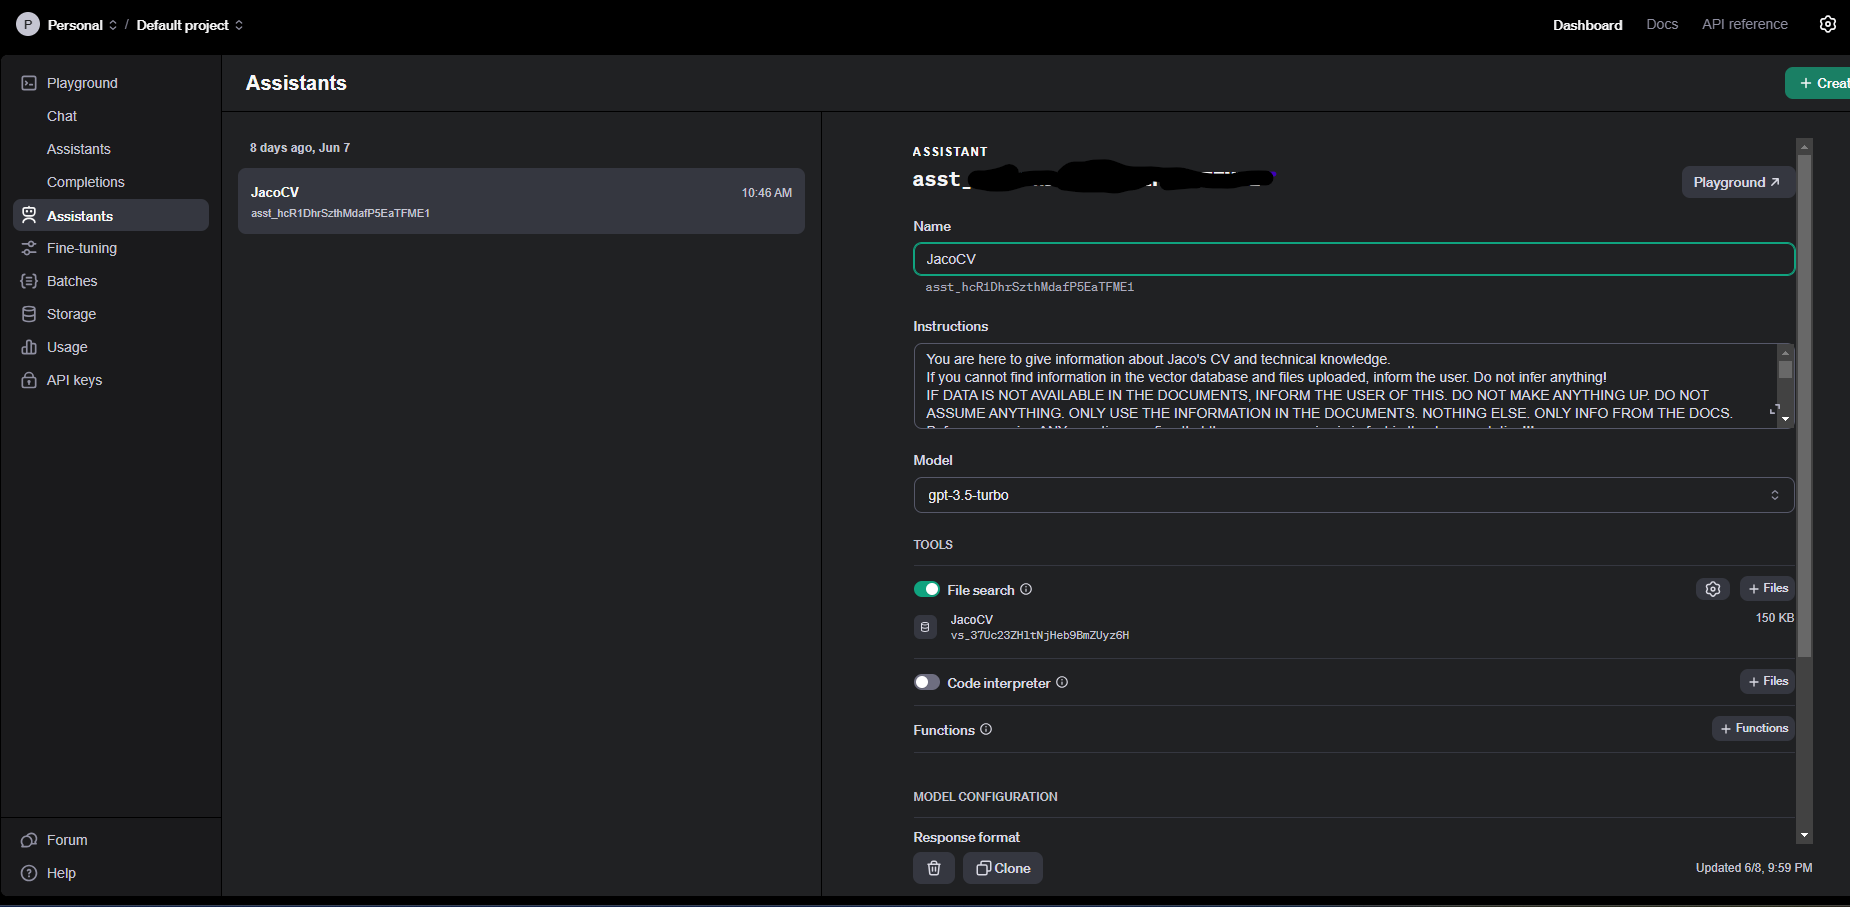
Building the assistant itself is also just as easy. One simply creates a new assistant and points it to your vector database, add a “few” prompts to tell it how to behave, and off you go. You can also choose the LLM model the assistant needs to make use of. I initially set it to GPT-4O, however, after getting billed about $5 while only testing, I opted to switch to GPT-3.5. Although not as “smart” as GPT-4O, it still is able to perform the task of getting the information and displaying it to the user relatively well. And it’s about ten times cheaper. As for the prompt, I found that I had to tell it in more than one way to only give me information from the documentation, as it still would hallucinate slightly without it.
Now that the assistant was done, I started setting up a way to interact with it. OpenAI was nice enough to supply a Node.js client with a built-in chat client that one could simply upload and host on one’s own web server. Unfortunately, the service provider I use to host my websites does not allow Node.js applications to be hosted locally on their servers. So I just had to build my own. This also includes a section that emails me all the conversation logs so that I can see what is being asked of my virtual counterpart.

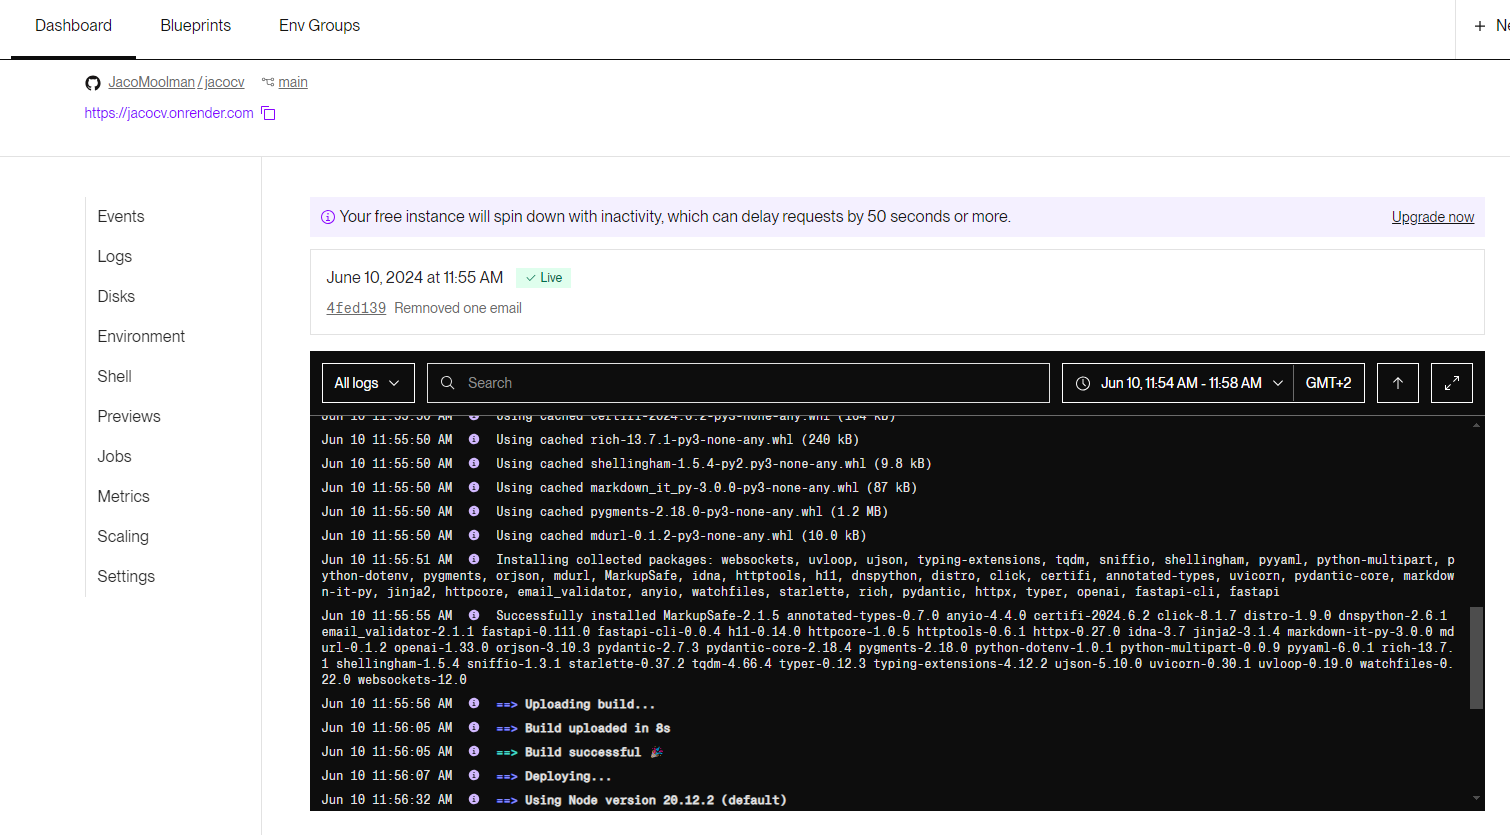
I hosted the code for interacting with OpenAI’s assistant on a Git repo. This handled getting input, sending the input to OpenAI, getting the response back, formatting the response, and then lastly sending it back to the requester. Now, to host the API itself, one does need an online server to be running your code and having all the required setup done in terms of port numbers, security keys, etc. And again, this costs money. I opted for using a service called Render API to host the API service itself. Every time I update the code on the Git repo the the API would then be updated and automatically be restarted with the new code. With the free version, you will need to wait about 60 seconds for the backend service to start up. I could opt to upgrade to a paid service to have an instance running permanently, however, I opted not to do so. I also opted to add a log that saves all the chats and then emails me every time someone uses the chatbot. This is just to know what type of questions are being asked and if I need to update any knowledge the LLM has access to.
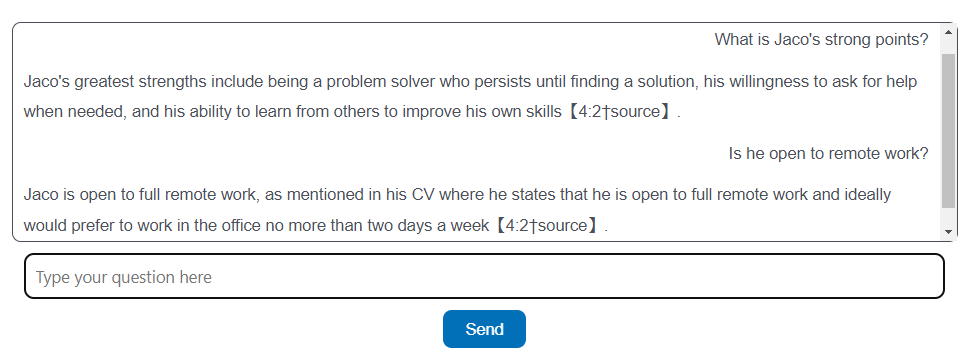
The last step then was to create a chatbot that calls the Render API. This was generously brought to you mostly by GPT, as I’m not a huge fan of CSS or HTML in any way, shape, or form. I did, however, still go through a couple of iterations until I was happy with the look and feel of the chatbot.
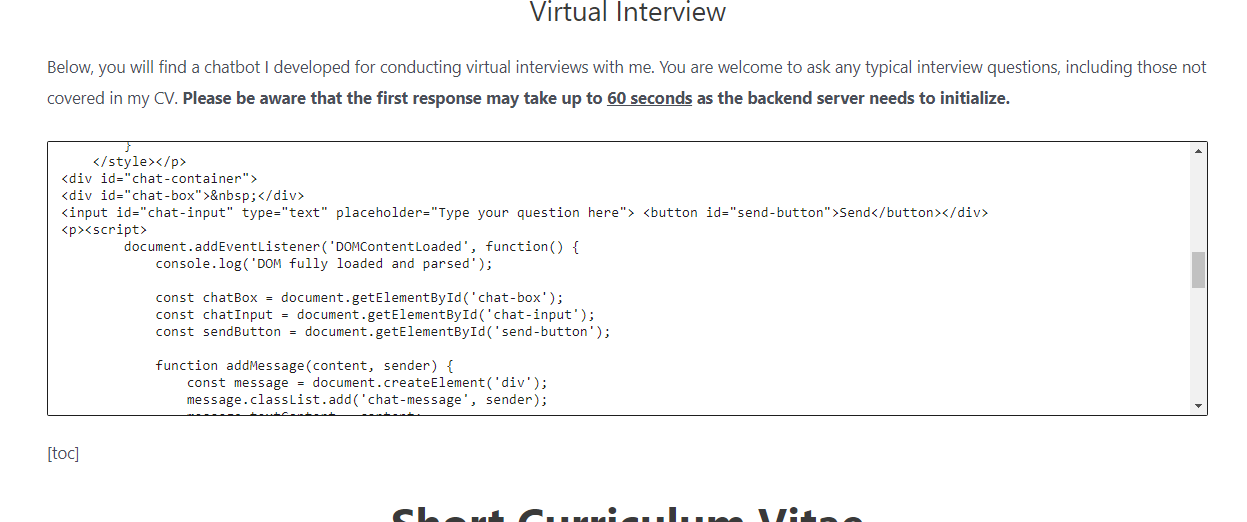
And now you too can test out the chatbot and have a virtual interview with me by going to my official CV page: