
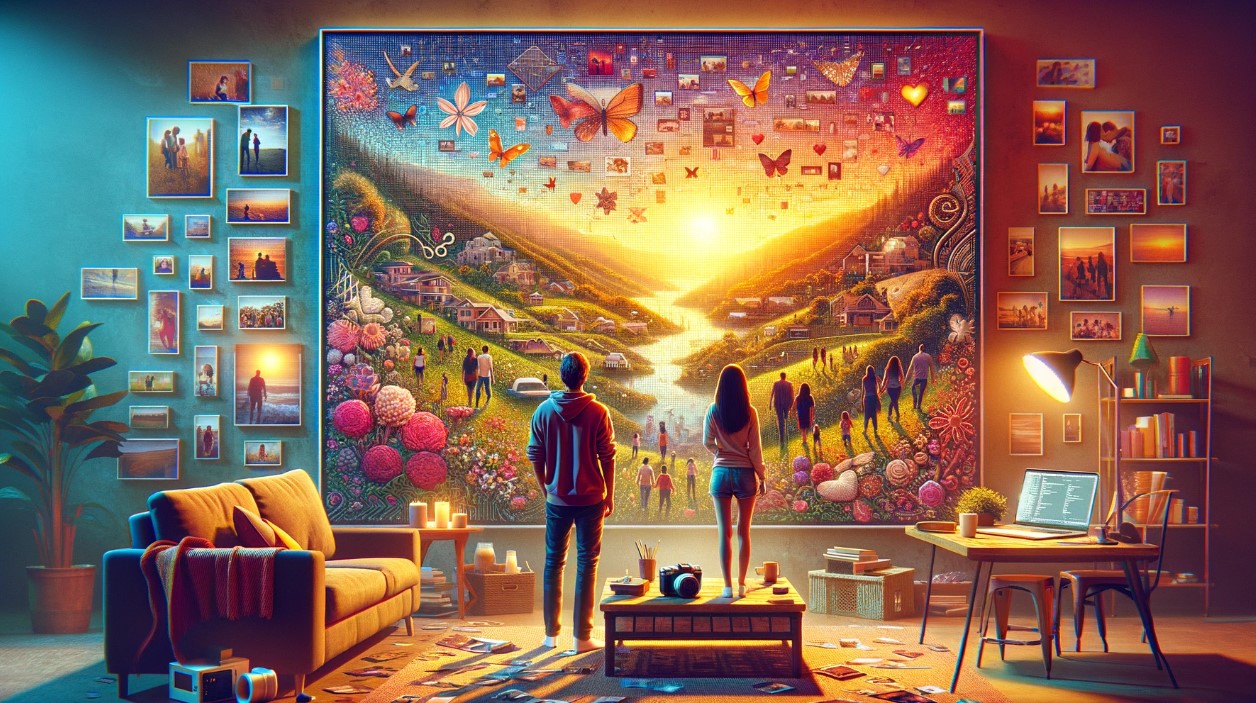
Let’s dive into a weekend project that turned into something pretty cool—a DIY mosaic of me and my partner that doesn’t awkwardly crop out our heads. The backstory? I’ve been using Andrea Mosaic for a while, but it kept doing us dirty by chopping off the tops of our heads. Not cool.
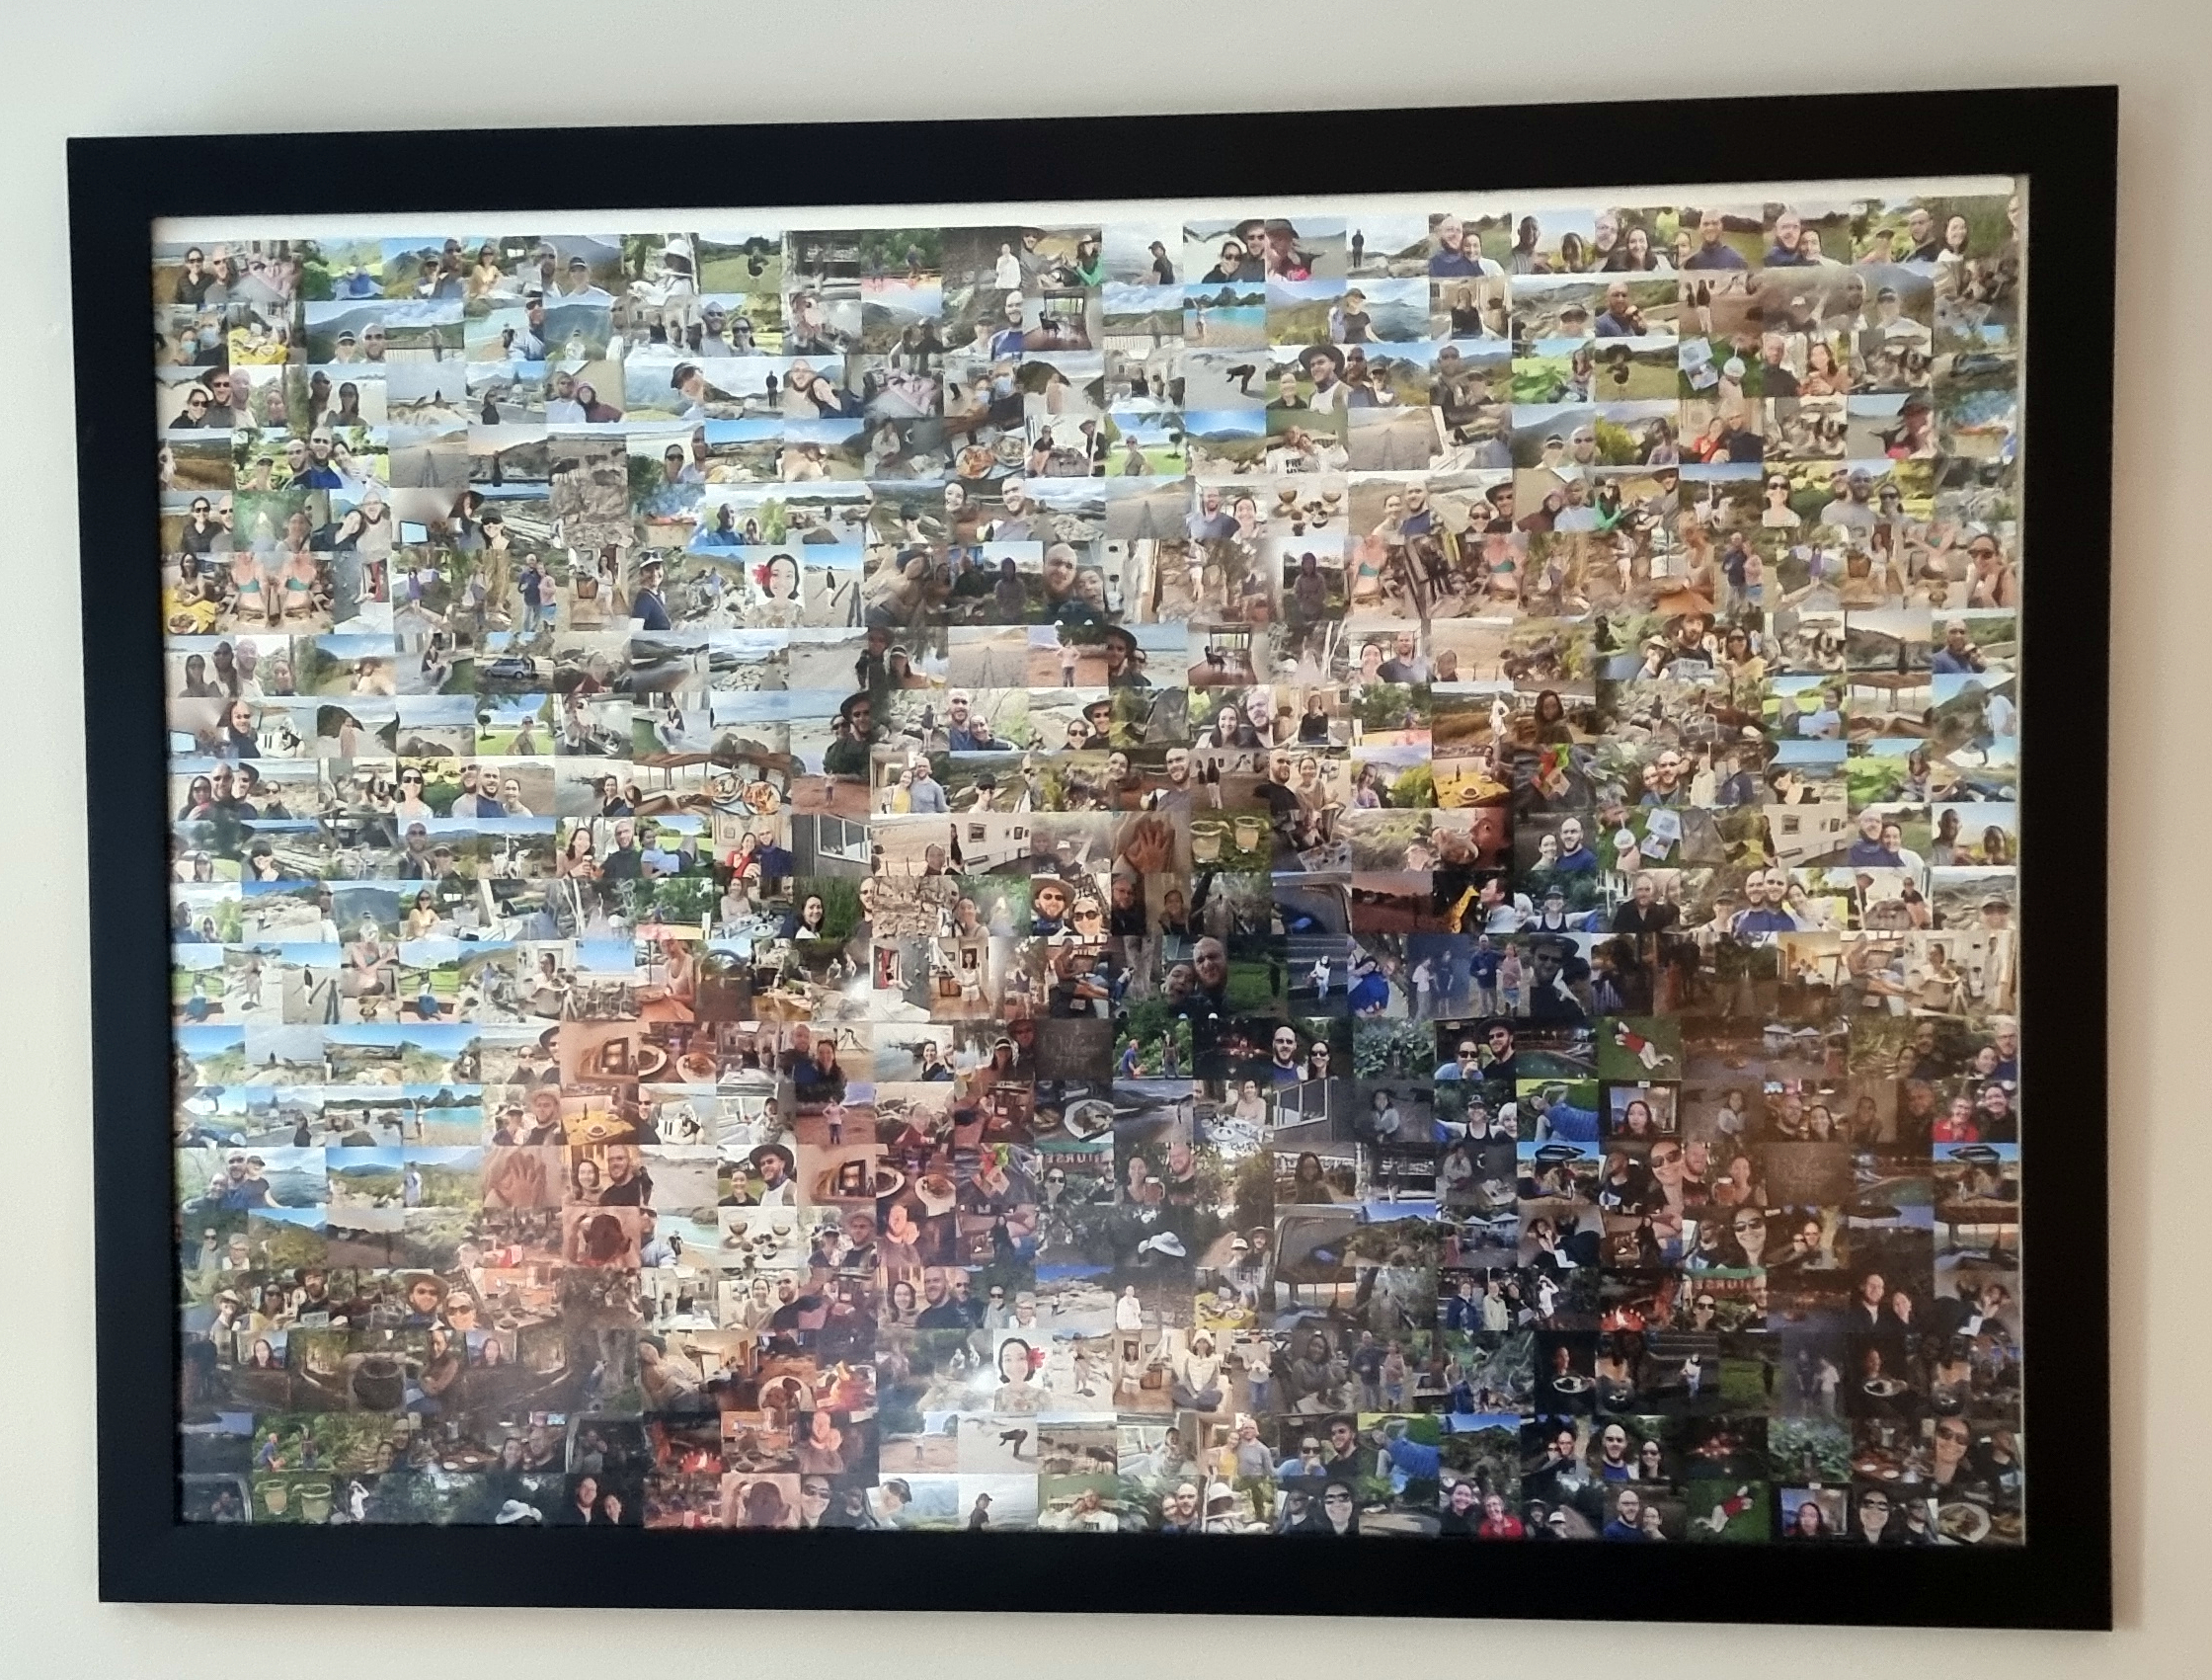
I really wanted to refresh the mosaic collage we have at home. It’s this neat collection of pics of us from over the years. Here’s where it all started with our first collage:
When the old software couldn’t cut it (pun intended), I figured, why not make something better myself? I found some starter code on GitHub (shoutout to https://github.com/Enigma-52/PhotoMosaic) and thought, “Hey, I can work with this.”
The original code was okay but pretty basic. It was like finding an old bike in the garage; it’ll get you moving, but you wanna add some gears and maybe a bell before you take it for a serious ride. So, I decided to tinker around and add some new features:
- Custom Tile Size: Because who wants a one-size-fits-all approach when you’re creating art?
- Local Randomness Control: To mix things up a bit but still keep it looking neat.
- Usage Limit per Image: So you don’t see the same picture popping up too much.
- Transparency Levels: This makes the final piece look like a blend between a photo and a mosaic.
- Custom Output Name: Got to name your masterpiece, right?
- Main Image Path: This is where you tell it which photo to use as the base for the mosaic.
Here’s what goes down with the script I tweaked:
- Setting the Scene: You start by telling the script all about your preferences, like how big each tile should be and how transparent you want the final image.
- The Color Match Game: It calculates the average color of each little photo you’re using as a tile and matches it to the right spot on your main image.
- Making a Cache: If you don’t already have a cache file (basically a cheat sheet for the script), it’ll make one. This saves a lot of time because the script doesn’t have to start from scratch every time you run it.
- Laying Down the Tiles: The script looks at your main image, divides it up into sections, and starts laying down the tiles that best match each section.
- The Big Reveal: Once all the tiles are laid down, you get to see your new mosaic. But it doesn’t stop there; it then overlays this mosaic on top of your original photo, giving you this cool, blended final image.
And because I was feeling extra, I threw in another script to mirror the images, making the pool of tiles even more diverse.
Check out the GitHub link to see all the magic happen: [https://github.com/JacoMoolman/mosaicimages/blob/main/MakeMozzie.py]
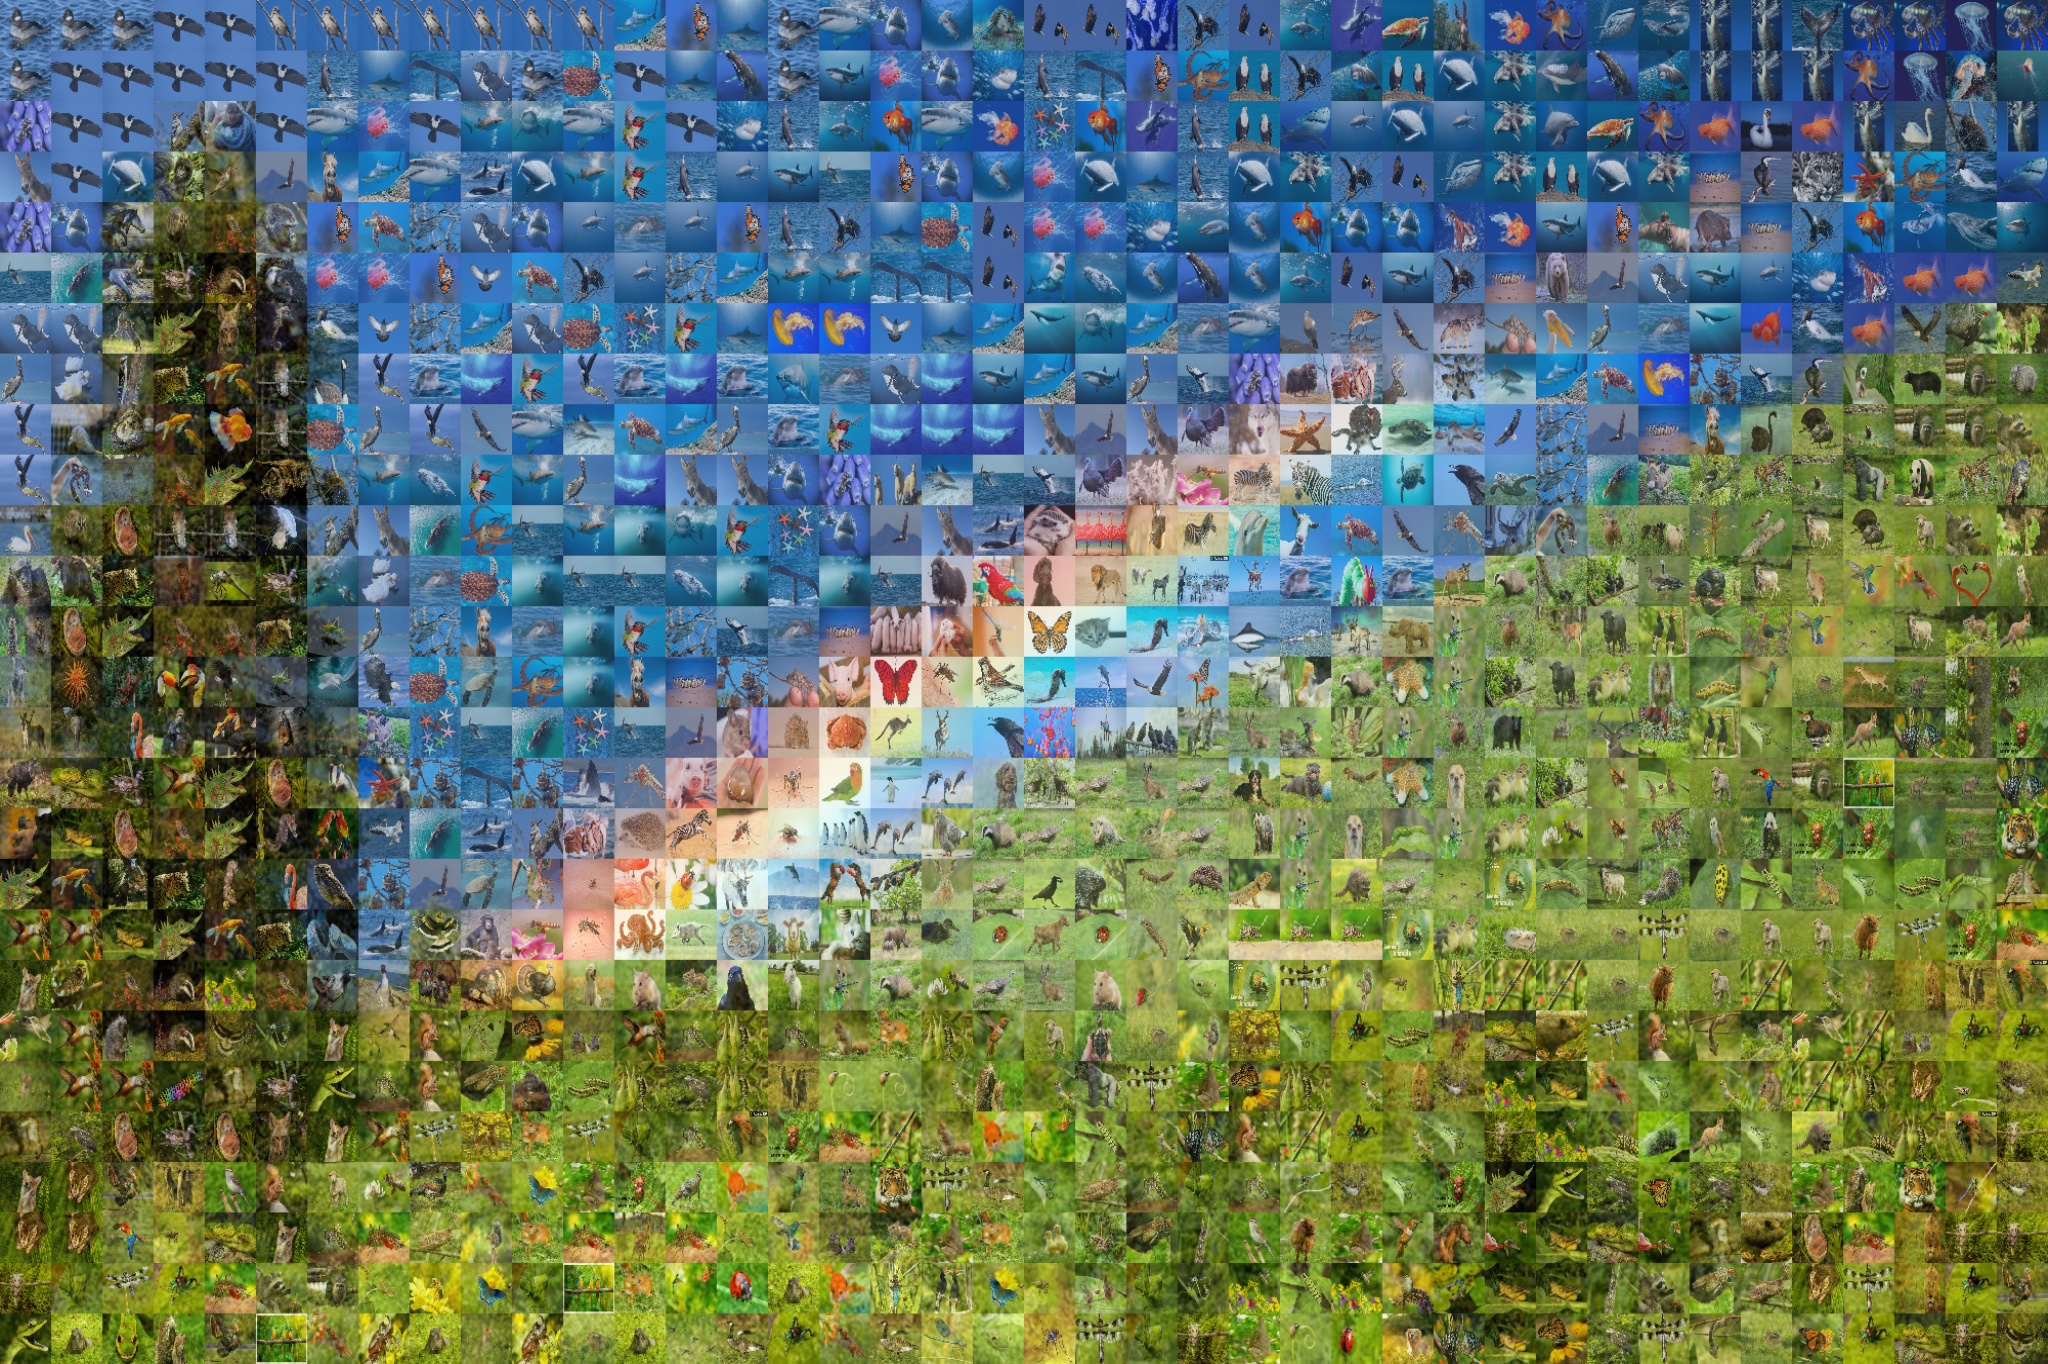
And, voilà, here’s the final product:
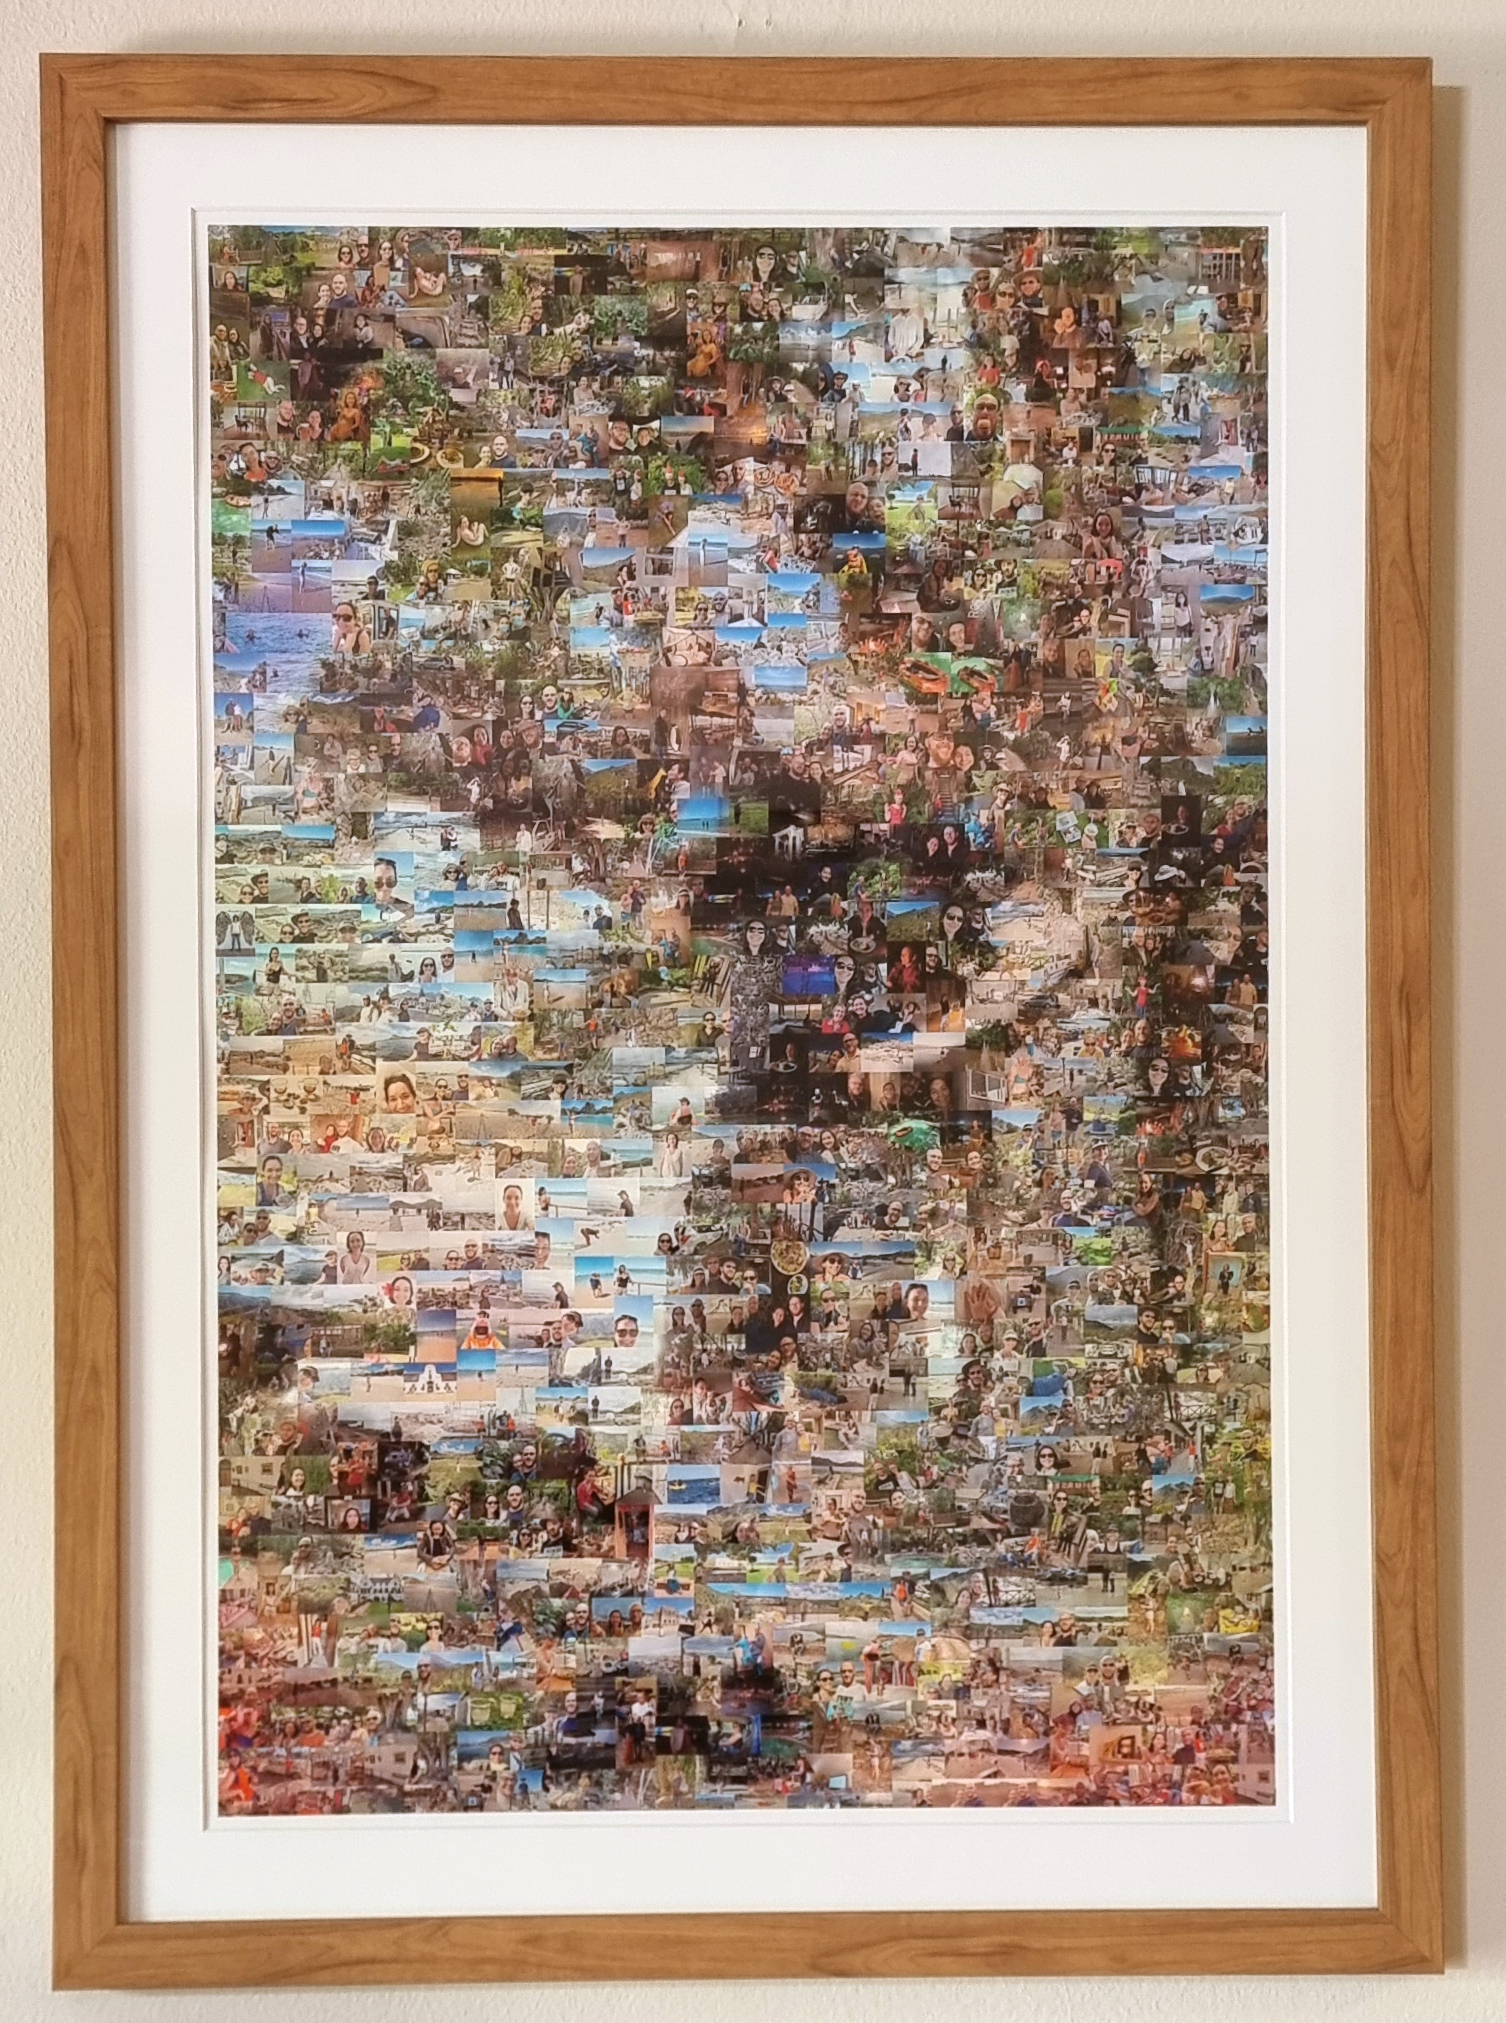
Not too shabby for a couple of days’ work, huh?
The README on GitHub lays out everything you need to know to get started, from the gear you need (Python, OpenCV, and NumPy) to how to set up and run the scripts. It’s like the instruction manual for your new favorite weekend project.
Feel free to jump in, mess around with it, and make your own mosaics. If you’ve got ideas on how to improve it or just want to show off what you made, the project is open for contributions. This is all under the MIT License, so share and share alike.
Massive thanks to the original code I found on GitHub. Without it, I’d still be stuck with headless mosaics. Now, we’ve got a fresh piece of art that’s a real conversation starter.
Imagine what else we could make with a bit more time and maybe a few more hands on deck. If you’re into coding, photography, or just making cool stuff, let’s connect and create something awesome.